
Focus Stacking is My New Favorite Photo Thing
· 4 min readFocus Stacking has got to be my new favorite photography technique.
I recently acquired a Canon M6 mkII mirrorless camera, and I love how compact it is. Here it is pictured with a 22mm f/2 fixed prime “pancake” lens:
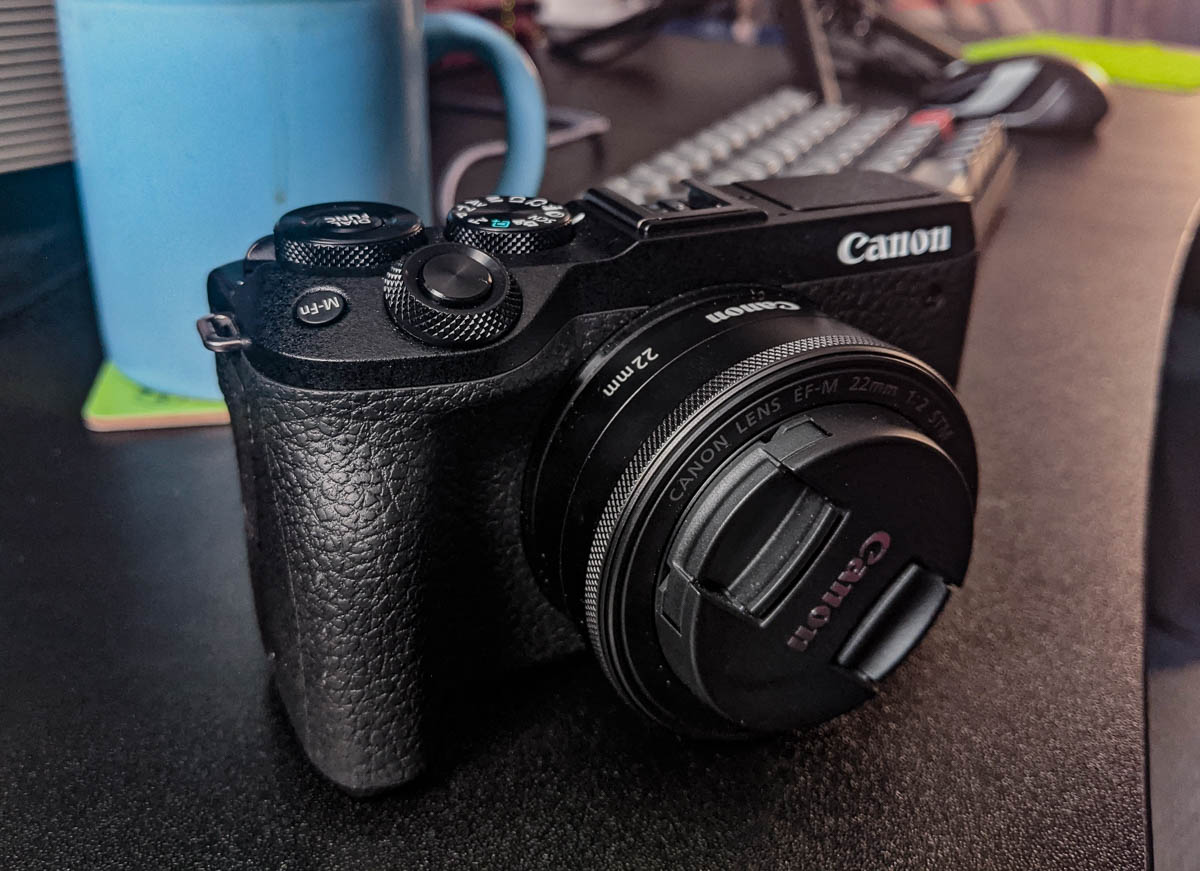
I enjoy shooting with fixed prime lenses, because of their low profile, low cost, image quality, and wide apertures, which are great for low-light situations. You can’t zoom of course, but I feel like that’s a virtue, because it forces you to interact with your subject and really think about the image framing.
This 22mm lens is a good all-rounder. It’s wide-angled enough for a selfie at arms-length without being fish-eyed. Its max f/2 aperture is also pretty good for low light photography, and it produces a nice bokeh for portraits and macro shots.
Here’s an example macro shot with the lens:
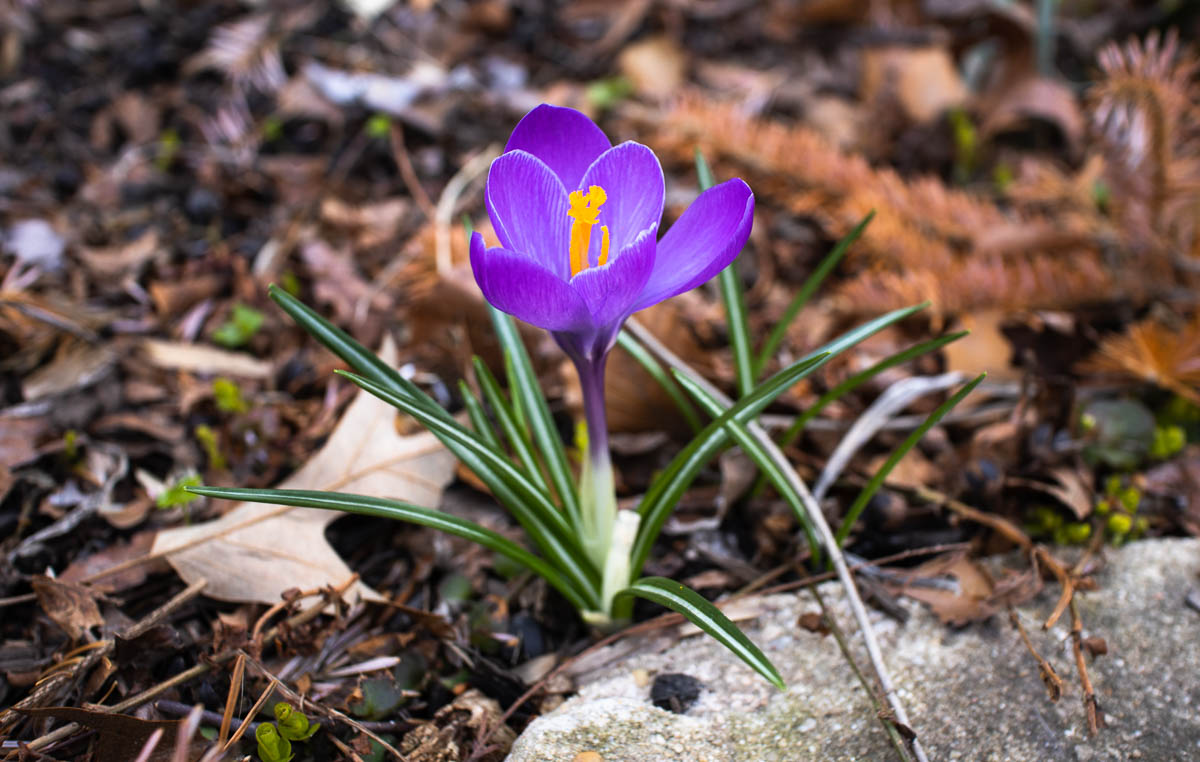
Look at the crisp focus on the subject! The lovely bokeh of the background! As the pros say, this lens is some quality glass. It’s a very nice effect that does a great job of separating the subject from background. But sometimes, you want to catch your subject or subjects at an angle or depth that prevents you from focusing up everything that you want to have in focus.
This is where focus-stacking comes in.
Now you could focus-stack manually, if your subject is still enough and you have steady hands or a tripod. You might start by focusing on the nearest point, snapping a shot, adjusting the focus, snapping another, and so on.
But modern cameras like the M6 can do this for you. In the M6 menu, it’s called “Focus Bracketing” - same thing! You tell it how many shots you want to take, and how much to increment the focus between each shot. I have found that for most macro shots, 10-15 snaps at the default increment is enough.
I then import these into Lightroom, and do the following steps:
- Select all of the focus-bracketed shots
- Lightroom menu: “Photo > Edit In > Open as Layers in Photoshop”
- After opening, select all the layers in Photoshop
- Photoshop menu: “Edit > Auto-Align Layers” (Auto works well)
- Photoshop menu: “Edit > Auto-Blend Layers” (select “stack images”, “seamless tones and colors”, and “content aware fill…”)
That’s all there is to it. Just let Photoshop do it’s thing. It can take a couple minutes. When it’s done, you should have a one fully in-focus image. Just hit “save” and return to Lightroom. In my workflow, I wait until after focus-stacking to make adjustments to the image.
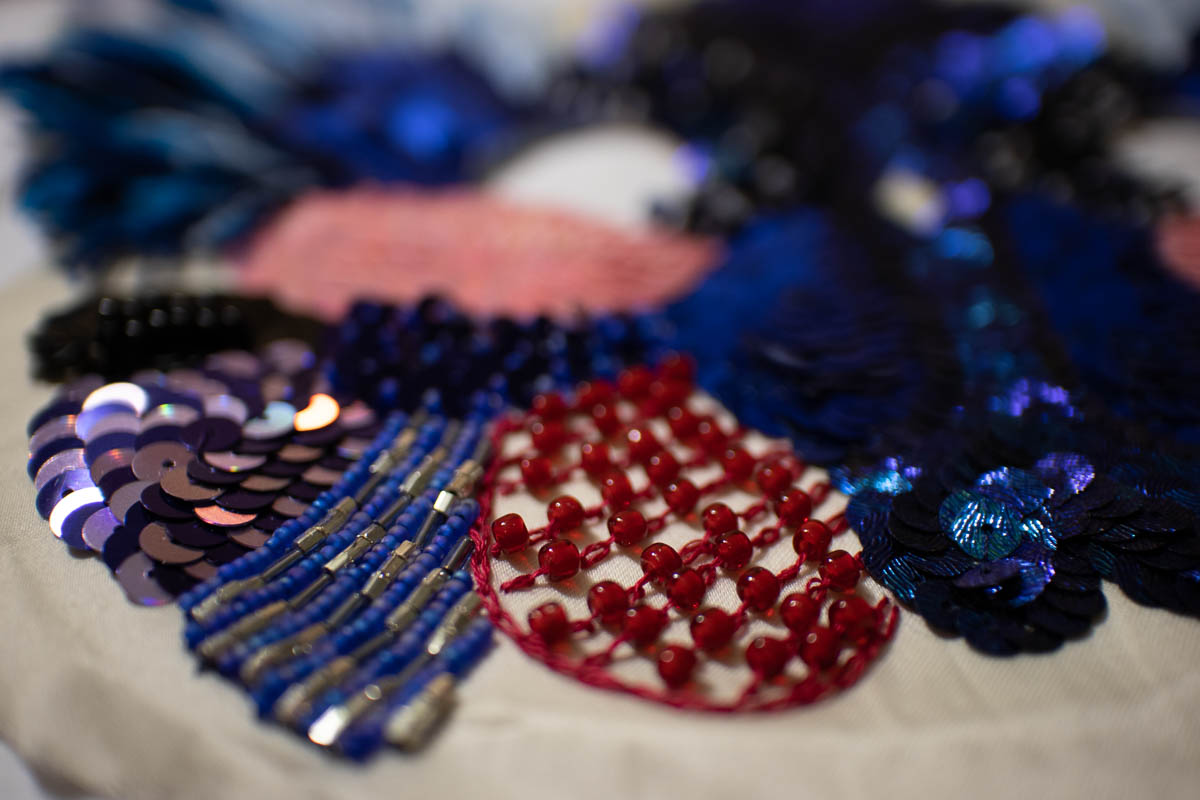
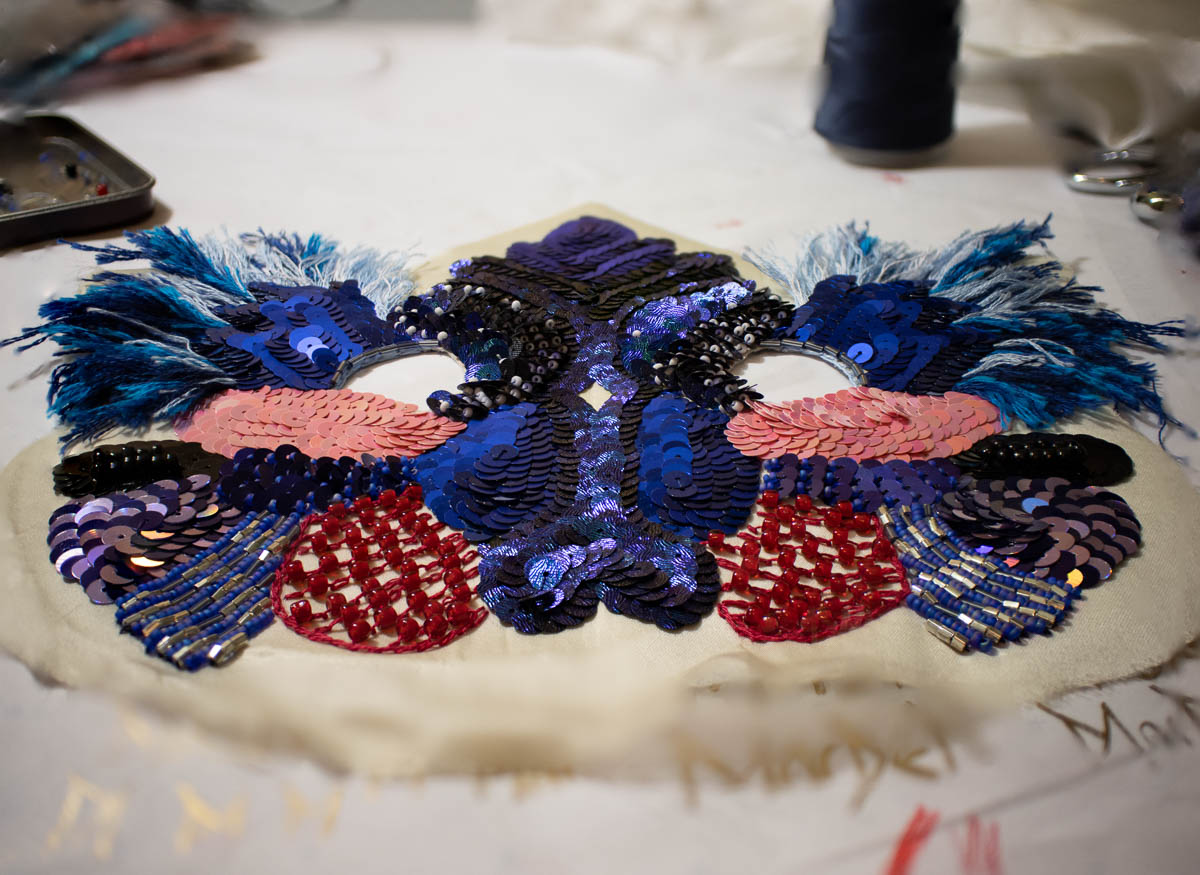
Here’s an example of a macro photo of one of my wife’s art masks, first without focus bracketing, and then with focus bracketing:
Check out my photos page for more of my amateur photography.